Creating a new project
Done in just a few clicks.
Create a project
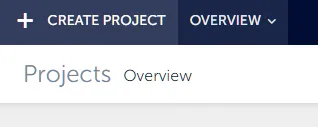
To initiate a new project within our platform, simply click on the “Create Project” option located at the top left corner of the interface.
This action will open a modal window where you can enter a name for your project. Once you’ve provided a name, confirm it, and your project will be created.

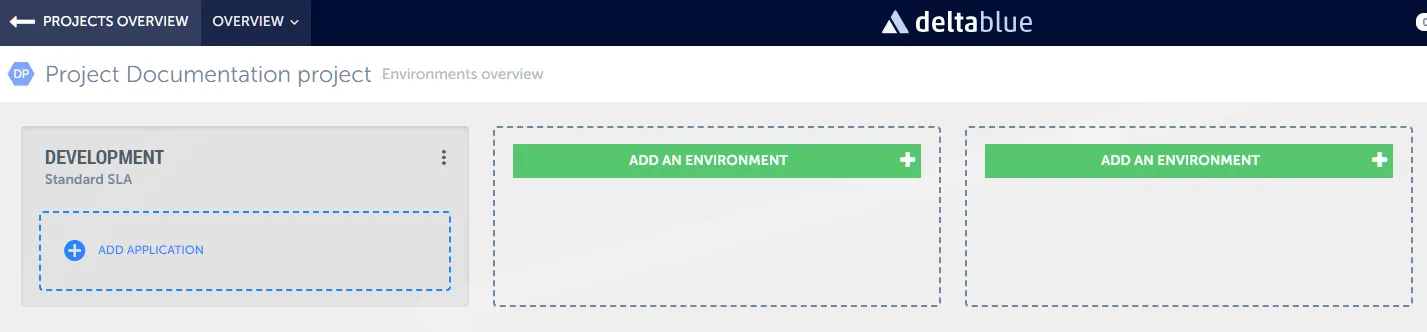
You’ll then be directed to the Environment Overview screen for this newly created project.
By default, the platform enables one environment for you: the development environment. If needed, you can add more environments to your project according to your requirements.
Understanding Projects and Applications
Your project acts as a container within the platform, housing environments and applications. However, to fully utilize your project, you need to create applications within it.
Create an application
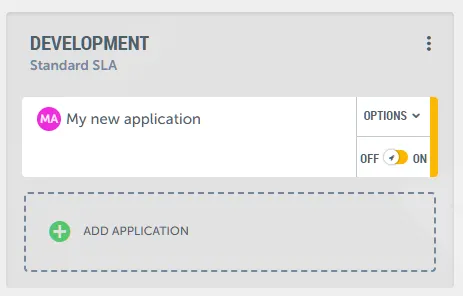
Within the development environment, you’ll find the “Add Application” option. Click on it to start creating your application.
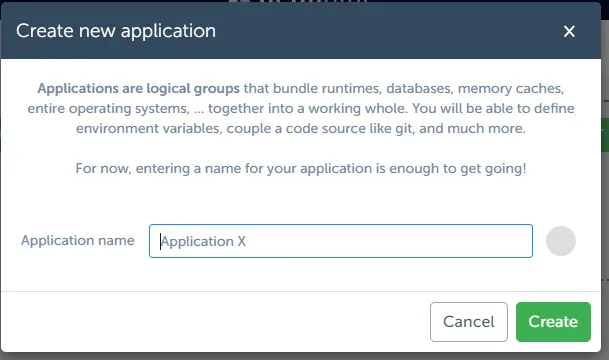
Give your application a name to distinguish it within your project.
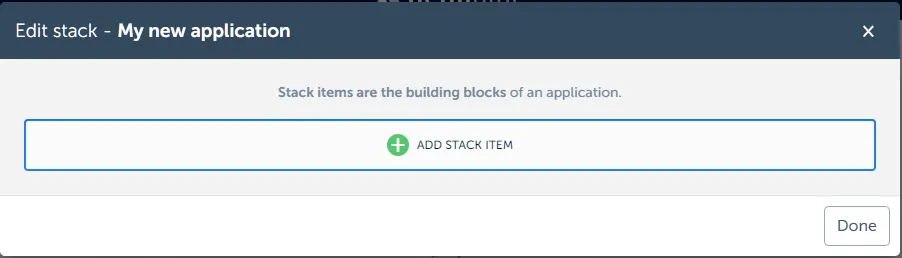
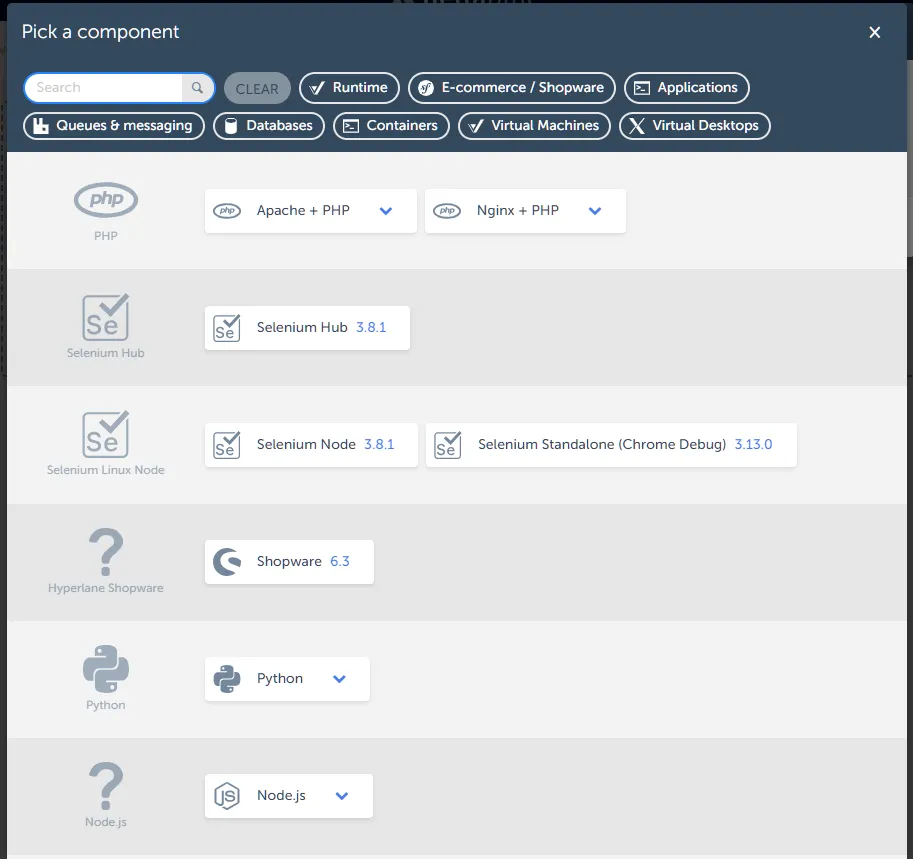
Next, you’ll need to add stack items. These are the technologies your application will use. Some examples are: PHP and Apache, Python, Node.js, or specific platforms like Shopware.
For each stack item, assign the resources it requires. We offer various resource sizes, each clearly outlining what’s included and the associated costs.
Choose the appropriate resource size for each stack item based on your project’s needs and budget.

Review your stack configuration. If everything looks good, confirm your selections.

Your application will then be created within your project.