DeltaBlue
Creating a billing profile
x min read
Here you’ll learn more about the billing process.
What can you do for free?
Of course, DeltaBlue Cloud is a paid service, and as such we’re going to need some billing information from you to really get going. Let us first take a look at what you can already do for free on your account. This without even entering your billing information!
For example, you can already start with the creation of your project and applications. Of course, launching them will require payment. However you can set up and configure every aspect of your project and applications in advance. Not only does this save money, it also allows you to emulate the financial costs you would be facing before you even launch your project! You will have a fully transparent view on where costs are coming from and what is possible with our platform. All of this before you’re asked to pay anything!
How can you enter billing information?
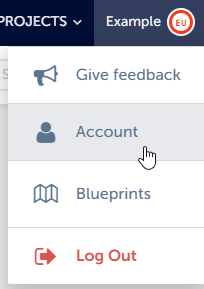
When you're prepared to input your billing details, locate your name positioned at the top right corner of the screen. Click on your name and then choose "account" from the dropdown menu.
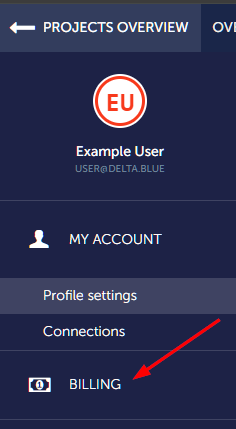
In the sidebar on the left of your screen select “billing”.
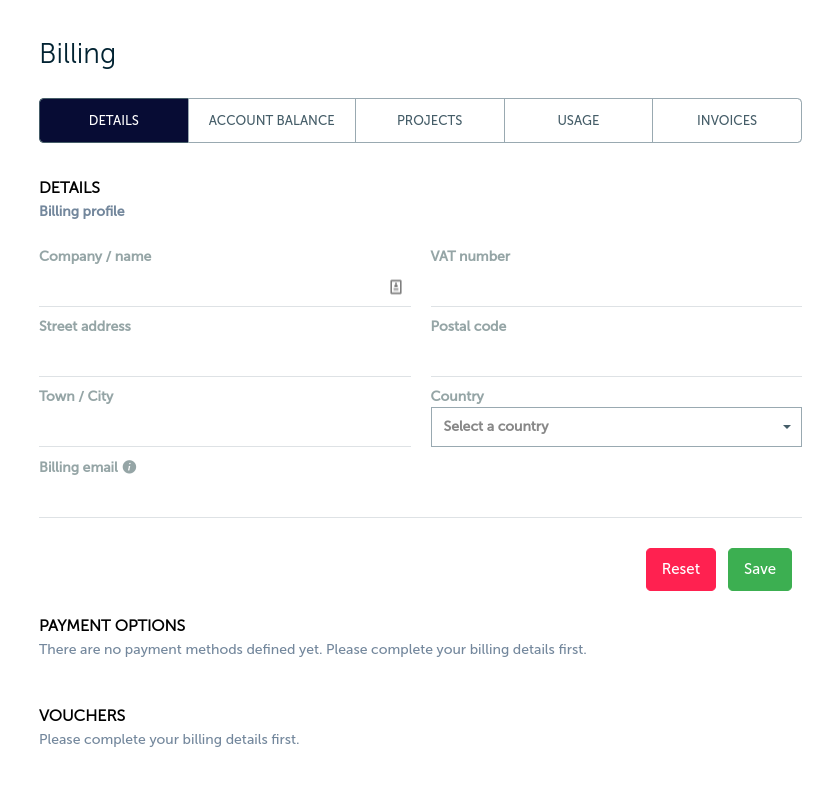
Here you will be asked to enter your company or name, VAT number, street address, postal code, town/city, country and finally your billing email address (this is the email address which we will send financial communication to).
How can you enter a payment method?
After you entered your billing information, the “Add payment option” button becomes available:
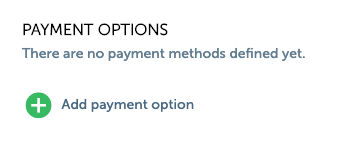
Click this button to choose your payment card and enter additional details. DeltaBlue does not store information about your payment options. This is handled through our payment provider Braintree.